WordPress image upload error: find the failing step
Separate a rejected image, file-size limit and processing failure, then verify one small supported image without weakening upload security.
In this guide
Start with the exact upload message. “File type not allowed,” “exceeds the maximum upload size,” and “the server cannot process the image” point to different problems. Raising every limit is not a useful first fix.
You need access to Media → Add Media File on an existing WordPress site and a copy of the image you are trying to upload. Keep the original unchanged. Screens show WordPress 7.1.3; your host controls important server limits and image-processing support.
Retry once outside the page editor
Open Media → Add Media File. This separates the upload from a particular page layout or builder. Note the Maximum upload file size shown on that screen and the exact error after one attempt.
If Media succeeds but the page editor fails, stop changing server limits. Check the existing attachment in Media Library, then insert that attachment into the page. The problem may be editor/plugin-specific rather than the upload itself.

Make one known-good image copy
Open a copy in an image editor you already trust. Export it as an ordinary JPEG or PNG, about 1200 pixels wide, using a simple name such as workshop-photo.jpg. Check the exported file is below the limit WordPress displays. This is a diagnostic copy, not a requirement to shrink every photograph to the same size.
Changing .heic or .svg to .jpg in File Explorer does not convert the file. Use the editor’s export/save-as operation. SVG can contain active content and is not normally accepted as a standard WordPress image upload; do not enable unrestricted uploads to force it through.
If the original cannot open or export, use another non-sensitive local JPEG/PNG that opens correctly in your image editor, then make the same small copy. This distinguishes a broken/unsupported source file from a site that cannot accept ordinary images; you do not need an online converter.
Upload the small copy through Media. If it succeeds, open its attachment details and check that WordPress shows the intended image, not only a filename. Insert it into a draft page and preview it too.
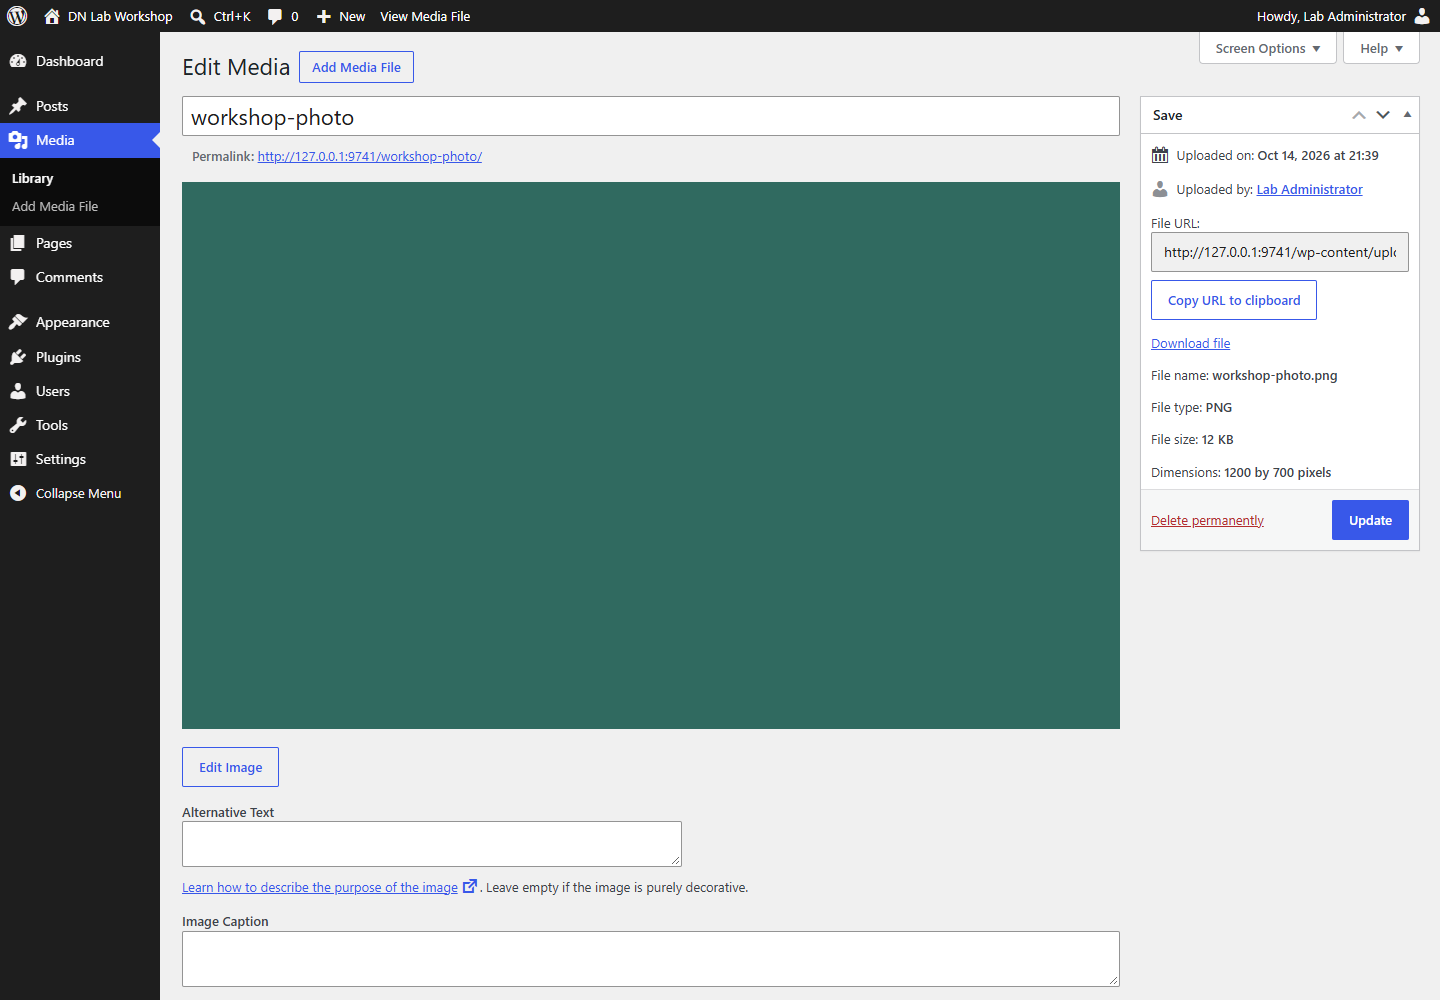
If the copy works but the original does not, compare their actual formats, file sizes and pixel dimensions. A compressed file can still require substantial memory to process when its pixel dimensions are huge.
Follow the message to the right layer
| What you see | Useful next step |
|---|---|
| Type not allowed | Export a genuine supported JPEG/PNG; do not just rename its extension. |
| Larger than the displayed limit | Use a smaller copy, or ask the host about the supported limit if the original size is genuinely needed. |
| HTTP 413 or a host/proxy error page | Ask which web-server/proxy request limit rejected it; PHP settings alone may not be the limiting layer. |
| Cannot process the image | Try the small copy; inspect image-library, memory and server error details if it still fails. |
| Cannot create/write the uploads directory | Check disk quota and the host’s expected ownership/permissions for that site. |
Settings → Media controls generated image sizes; it is not the setting for the maximum incoming file size. In Tools → Site Health → Info, expand the relevant Server/Media sections to gather the values your host needs. Do not publish the whole information export if it includes private paths or configuration.
For a server-side failure, send support the time, exact message, file format/bytes/pixel dimensions and whether the small JPEG/PNG worked. Ask for the relevant PHP/image-library/web-server log entry and the supported correction.
Do not set uploads to 777, grant broad filesystem access, disable file validation, or paste unrelated PHP directives into files you do not understand. If a plugin is suspected, reproduce on staging or coordinate a reversible single-plugin test; switching off live checkout/security plugins is not a neutral upload check.
Finish without leaving test clutter
Once the intended image works, open the page where it belongs and verify the public result. Add meaningful alternative text when the image conveys information; decorative images need a different treatment.
Delete only your unused test attachment after confirming no page uses it. Leave the original local file intact. If neither the known-good copy nor the original works, keep the evidence and involve the host rather than treating an unverified configuration change as success.
Sources and useful links
- Images and file attachments — supported media workflows and attachment handling.
- Media settings — generated image sizes, distinct from upload limits.
- Site Health — information for a focused server diagnosis.